How to Sharpen with the High Pass Filter in Photoshop


Learn how to sharpen your images in Photoshop using the High Pass Filter
Most Photoshop users have their favorite way to sharpen an image. While Smart Sharpen and Unsharp Mask are tools that offer great results, the option choices within each tool can sometimes be confusing. Using the High Pass Filter is fast, easy, and can also offer great results, so it is very often the first sharpening tool I will try on an image.
How Does the High Pass Filter Work?
The High Pass Filter works by finding the edges within a photo and increasing the contrast along those edges, making the light side lighter and the dark side darker. This gives the appearance of a sharper image.
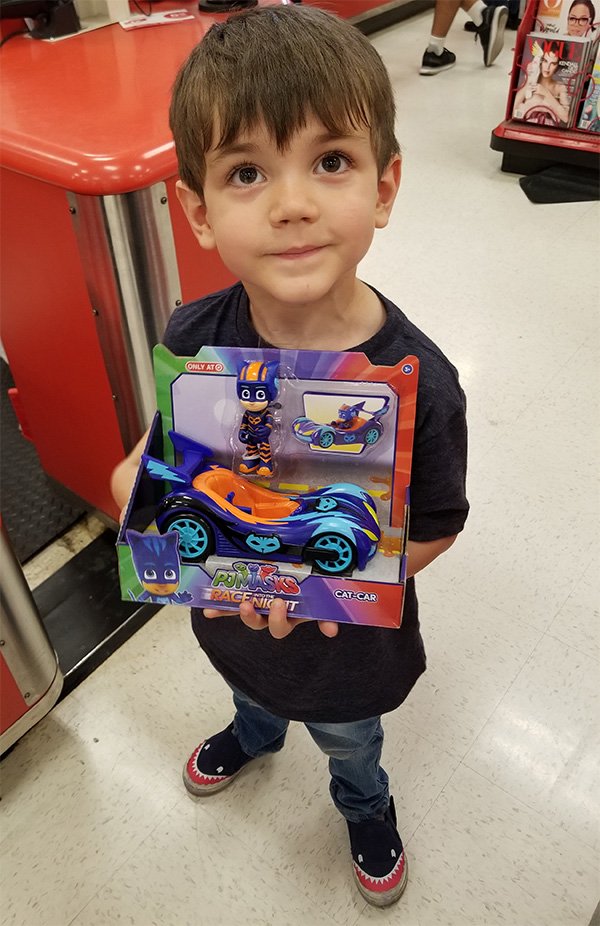
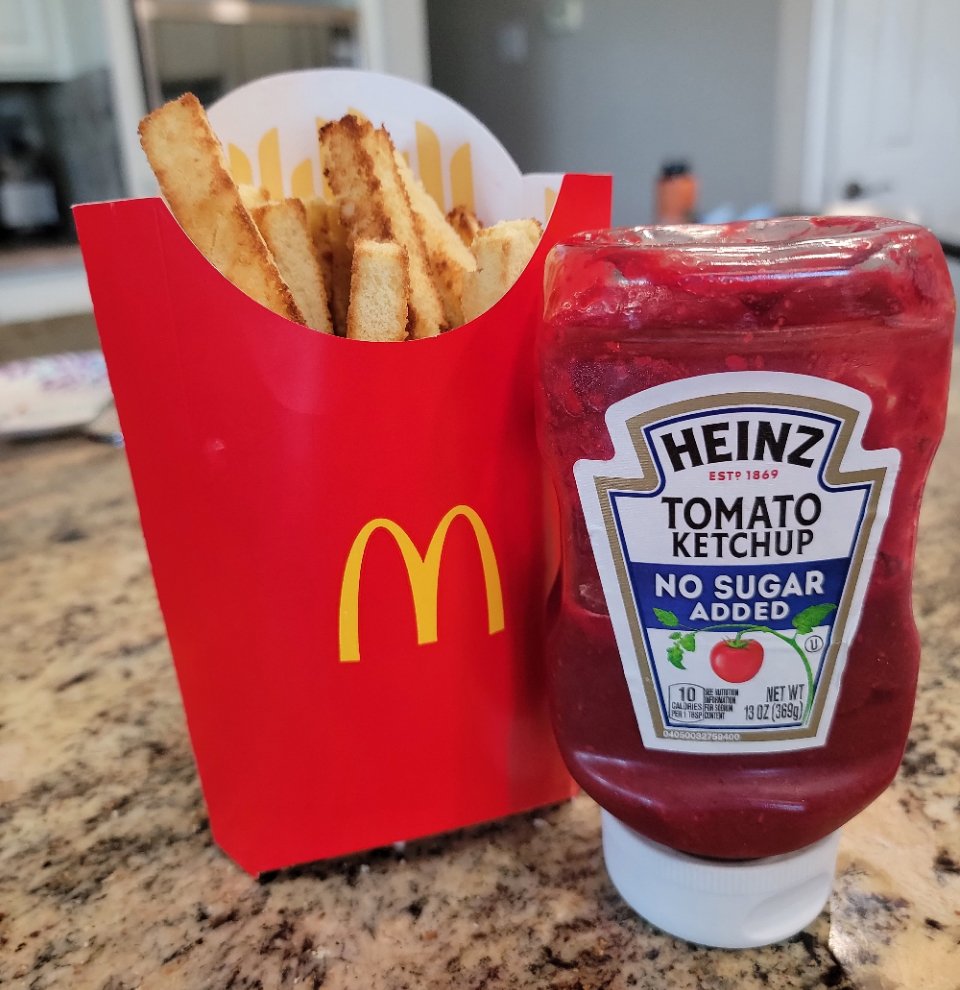
This is the image I will be working with today.
How to Apply the High Pass Filter
- In the Layers Panel, Ctrl J (Cmd J on a Mac) to create a duplicate of the image.
- Click on the duplicate image layer to make it the active layer.
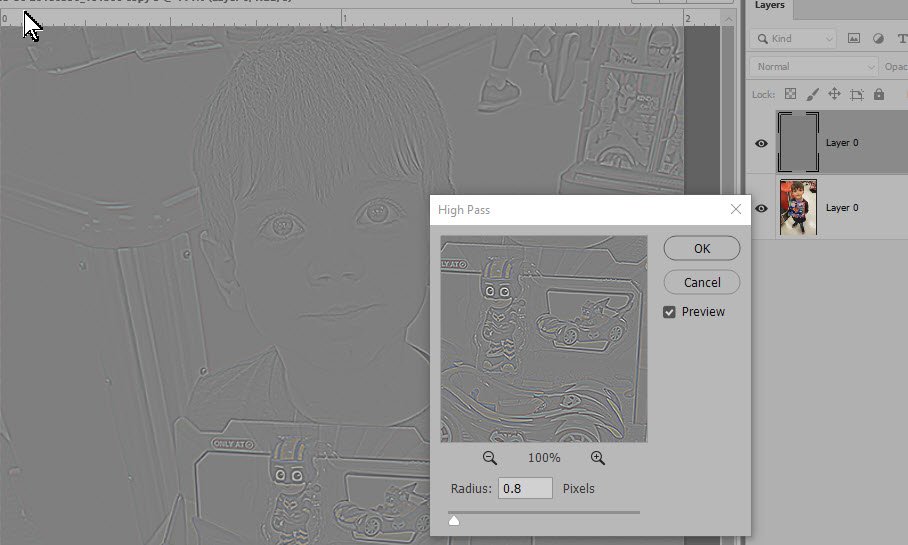
- Go to the top menu bar: Filter > Other > High Pass.
- A High Pass Filter window will open, and the duplicate image in your Layers Panel will turn gray.
- Move the Radius slider all the way down to zero. Your image will become completely gray. Then start moving the slider to the right. When you see the edges of your image begin to appear, stop. Click OK, and the High Pass Filter Window will close. In general, a value of 1-5 pixels works best, depending on the size of your image. For this image, 0.8 actually worked perfectly.
6. In the Layers Panel, change the Blend Mode of the High-Pass Layer (which is your duplicate photo layer) to Overlay or Soft Light. If the Overlay Mode is too harsh, you can reduce the Opacity of the Blend mode or try Soft Overlay. If it’s not strong enough, you can try the Hard Light Blend Mode.
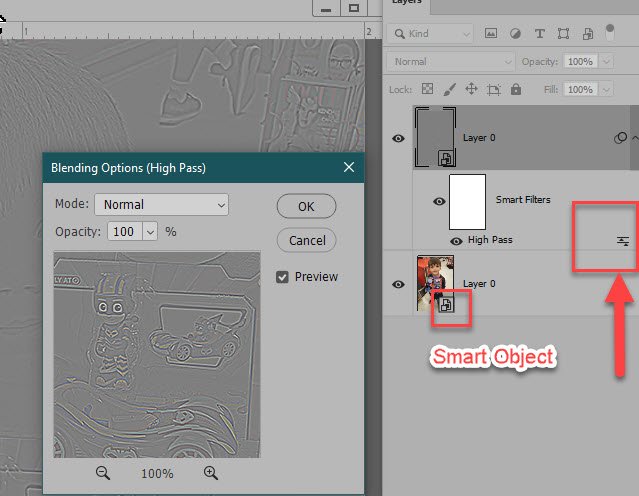
Note: If you are working in the full version of Photoshop and if your original image is a Smart Object, the High Pass Filter will be applied as a Smart Filter. Click on the down-pointing “v” on the far right of the duplicate layer to view the Smart Filter High Pass application. Double-click on the High Pass text to adjust the Radius; Click on the to the far right to open the Blending and Opacity Options. This is just a faster way to access the options mentioned above.
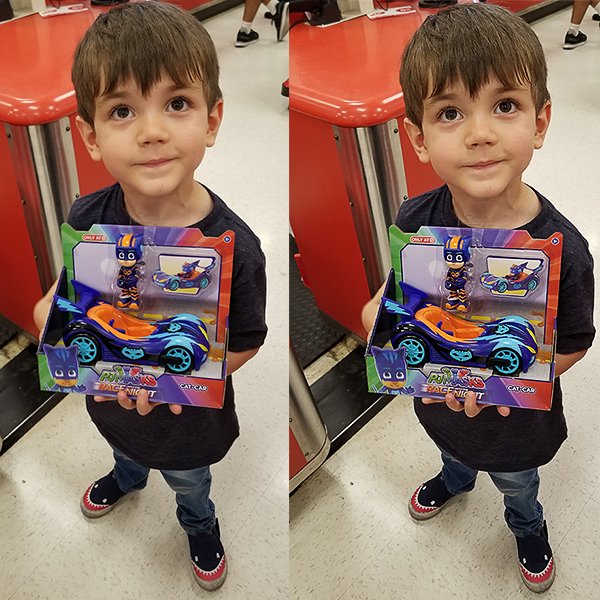
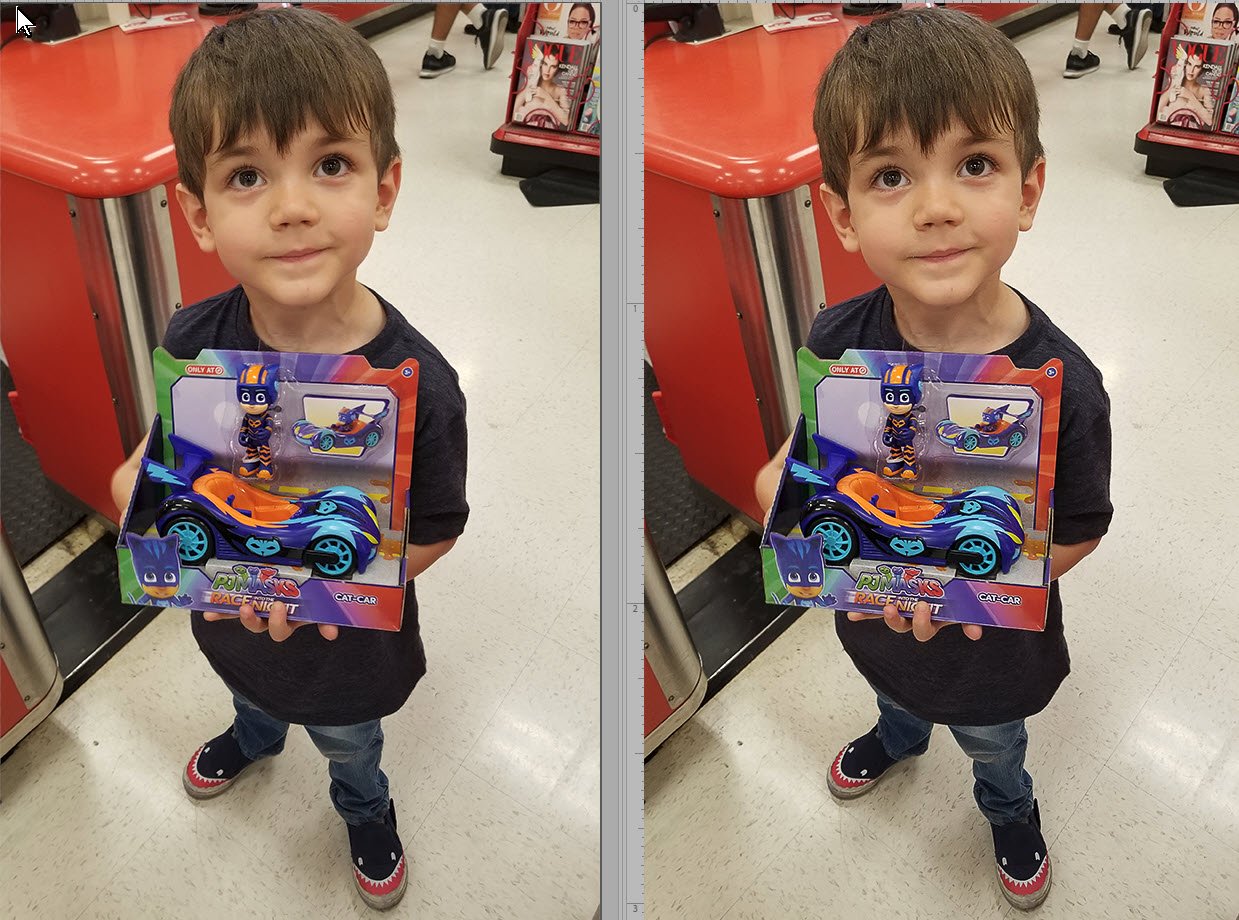
Before and After images for comparison:
High Pass Sharpening is a quick fix for an image that needs a boost!
Download a PDF of How to Sharpen with the High Pass Filter in Photoshop.

Comments (12)
You must be logged in to post a comment.
This is a great method of “sharpening” and often looks better than the dedicated sharpening tools. And if you use the smart object suggestion, you can use the layer mask to eliminate the sharpening in the background if you want to.
I can’t tell a difference between the two honestly. Maybe it’s from lingering anesthesia from two surgeries in the same week.
And I’m definitely not trying to be rude, please forgive if it came out like it. I’d like to learn how to use the High Pass Filter, but I have to see a difference I guess so I know what if I’m doing it right.
Any suggestions would be great Karen.
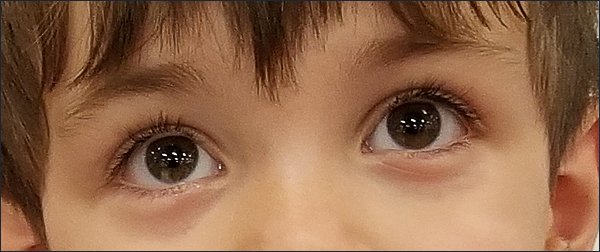
It’s a very subtle difference, Diane. Compare the sharpness of the glasses, especially. You’re not being rude at all. If you follow the tutorial on a photo that might be a little more “soft” than my original one, I’m sure you’ll see the difference. I hope that helps! (Hope you recover from your surgery soon!)
OH MY—High pass is the ONLY WAY TO FLY! Control is so perfect. It’s the “giveaway” between professional and non-professional post-processing, I think!
THANKS for the great look at the High Pass Filter, Karen
Yes! It is a fabulous, easy way to sharpen those edges! Thanks for your feedback, Pssequimages!
Thank you so much. I was taught to use the overlay instead of soft light. Your way is great. Oh and I didn’t know to set the slider to nothing and slowly go upward until I saw the lines. I was going up more than necessary and wondered why they often looked like posters or something instead of a photo.
Overlay will give you more of a contrast, which you might sometimes want. Soft Light will give you a softer effect. But then sometimes it works best to use Overlay and just reduce the opacity – which gives you somewhere between Overlay and Soft Light. It’s just experimentation for each photo, which is part of the fun of it all, I thnk. Thanks for sharing your experience, Lou Ann.
I just kept thinking, omg he’s soooo cute. And, I want boots like his.
LOL. Me too!
I was wondering if Gimp has that feature, as that is what I have been using for quite. long time, but I don’t think I have seen that, though I don’t think I utilize that program to the fullest. LOL!
That looks so much sharper after you ‘worked’ on it.
I am aware of Gimp, but I’ve never worked with it. I’m glad you liked the result.
I just googled it, and yes it is there, and I found a tutorial how to make use of it! When I have some time (When do we ever have enough of that??), I will give it a try.