How to Easily Color Digital Stamps using Overlays or Styles
Updated 02/20/2023
Digital Stamps are versatile and can add additional interest to our digital scrapbook pages. Stamps can be used in multiple ways; for example, to make a bold statement or add subtle interest. You can color Stamps, apply styles to them, use Blend Modes, experiment with Opacity levels, or clip papers to them. Some Designers call them “Stamps” while others call them “Blendables” or “Art Effects.” No matter what they are called, adding them to your digital stash and incorporating them into your digital projects can be a great way to add another dimension to your finished projects.
Today I want to show you a quick way to add a beautiful, blended, multi-colored effect to digital stamps.
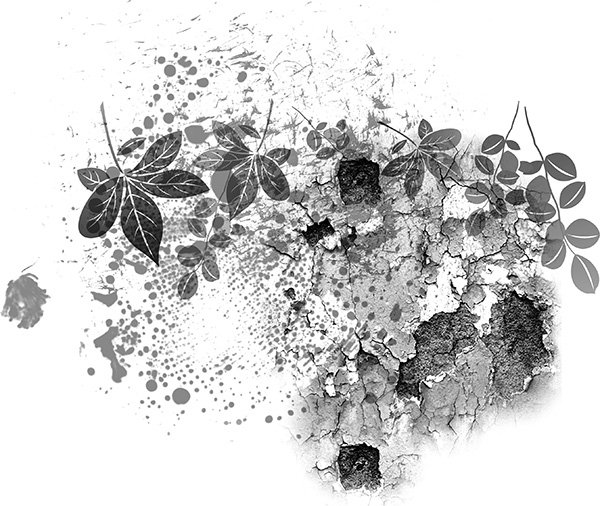
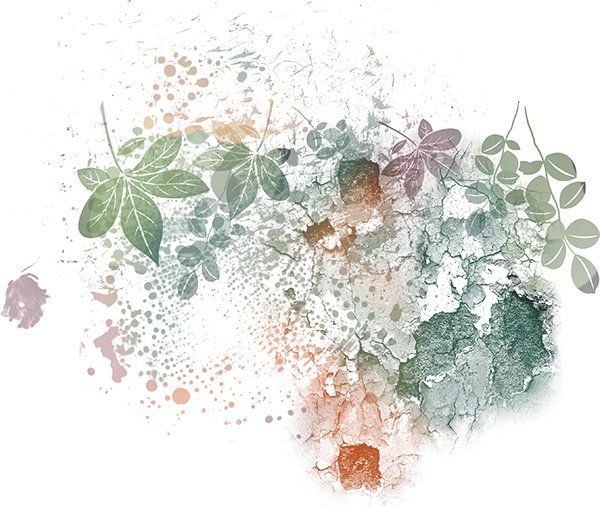
Here is a digital stamp stamped in black. Stamped in black, the digital stamp shows a lot of contrast and is quite pretty; however, I want it to be full of beautifully blended colors.
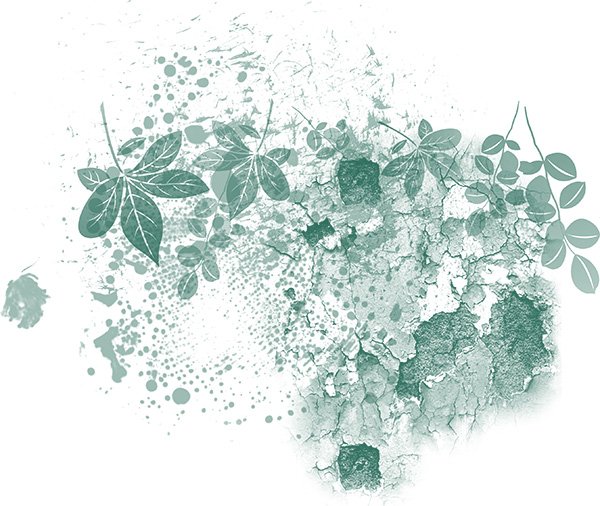
Here is the same brush stamped in color. I don’t really like this at all. It’s flat and has little contrast.
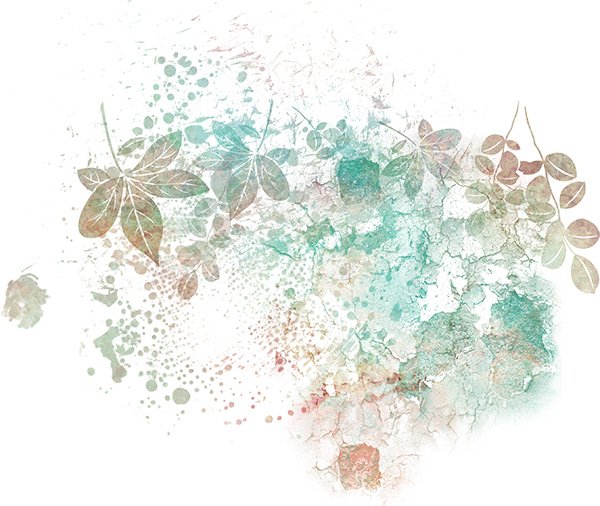
Here is the stamp with multi-colors. I like this and think it’s really pretty. So how would you get this look?
The Hard Way: Well, you could grab a brush and select your foreground color, and randomly stamp over the image. Then change your color again, perhaps change your brush, stamp some more.. and so on. That would definitely take a while, and it takes practice to get pretty blended colors.
But I wanted (and promised) “fun and easy”……so let me share one of my secrets with you.
One Easy Way:
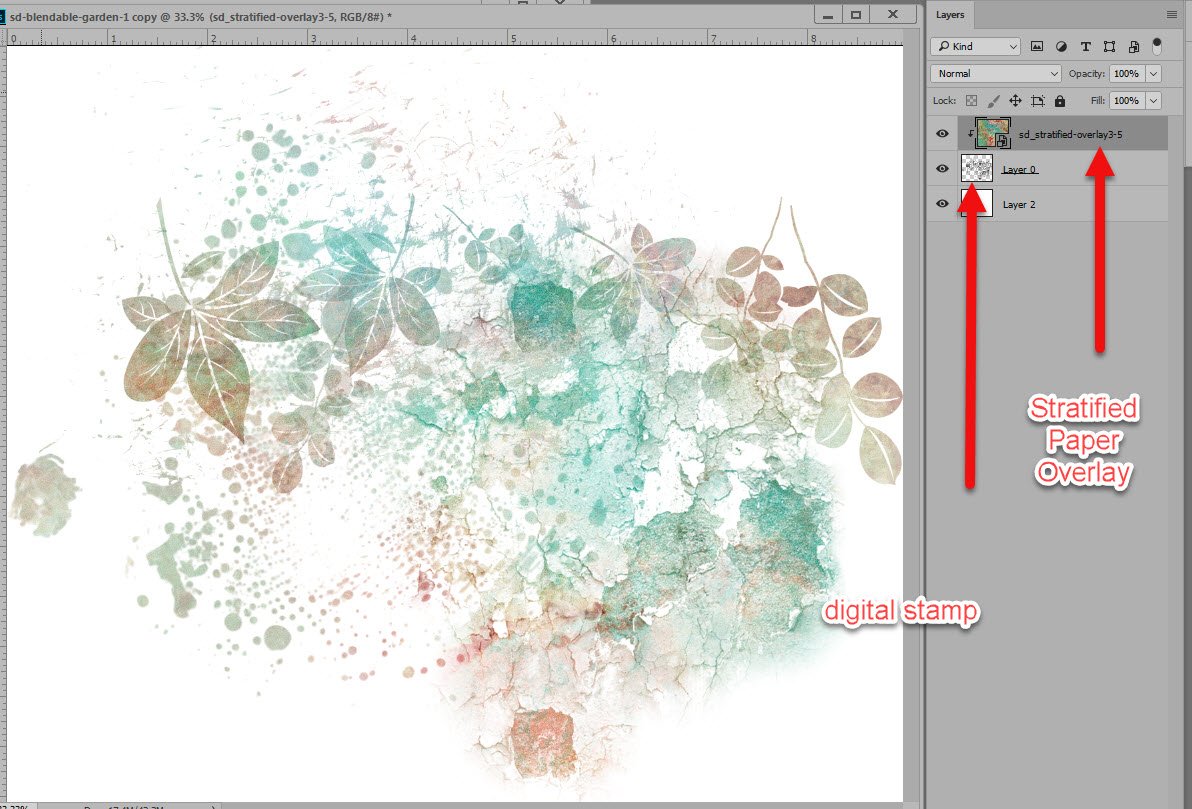
When I color digital stamps, I very often will use one of my Stratified Overlays or Stratified Styles. In the image below, I simply clipped a Stratified Overlay to the stamp. It took mere seconds to achieve this pretty look.
Steps:
- Open a blank document.
- Open a PNG Stamp, of if you are using an ABR file, stamp down once on a blank layer.
- Open and place a Stratified Overlay on the layer above the Stamp.
- Clip the Overlay to the Stamp (Right-click on the Overlay Layer and choose Create Clipping Mask).
- If you are happy with the result, you’re done. But if you would like a different look, with the Stratified Overlay layer active, click within the document to move the Overlay around, introducing different colors to your design. You can also resize the paper to within the boundaries of the stamp to bring in more color from the overlay.
Resized paper which allows more colors from the Overlay to be included.
I have the same overlays in Styles (.asl) format. The Styles use the same color patterns but with the effects that are added to the styles, they create a quite different look. The stamps above and below use the same pattern; however, the stamp above was created by the overlay and the stamp below by the use of the Style. (The pattern in the stamp below was a different size that the size of the pattern above, thus the slightly different color in color variation.)
Both are pretty. The Styles add more texture, an embossed look, and more contrast. You would choose to use the overlay or the style based on the end look you wanted to achieve.
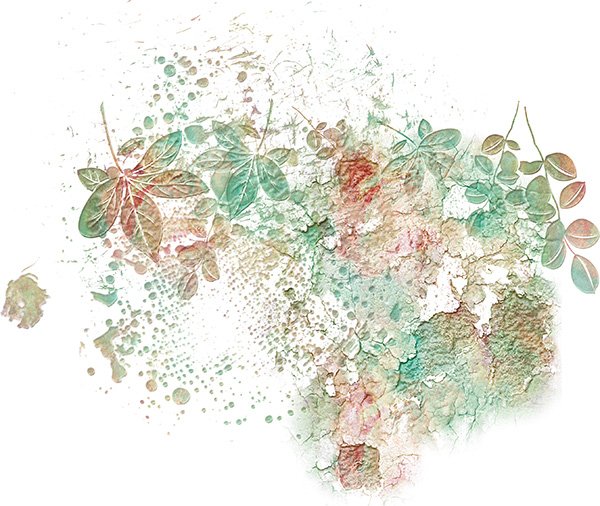
If you like the variation of a pattern but want it just a little bit different color… it’s not a problem. Just add a color adjustment layer above the digital stamp. This holds true for both the Overlays and the Styles. Here is the same Style I applied to the image above, with a few color adjustment layers added, to create a totally different look.

If you are a visual learner, view the How to Easily Color Digital Stamps using Overlays or Styles Tutorial on my Karen Schulz Designs YouTube Channel.
Find Stratifed Overlays and Stratifed Styles at the Karen Schulz Designs shop.
Comments (20)
You must be logged in to post a comment.


OMGoodness, what great information! Thank you!
Love these Styles Karen! I use them a LOT on layouts. My favorite way to use them is on my titles.
I LOVE your stratified styles and overlays. I especially love the styles with the textures.This is a perfect use for them! Thank you for sharing this easy, effective technique.
I love your stratified collection! I think I have almost everyone! They are so gorgeous, but I do forget to use them, so this tutorial is perfect! Any more ideas for use?
Thanks ever so much for sharing how to do more with our stamps. I seldom used them unless the black color fit in with my layout. I tried a few times to color but felt something was lost so didn’t leave them on the layout. I hurried over to your store and got the overlays and styles and now anxious to try them. The ones you have here are so beautiful.
[…] How to Easily Color Digital Stamps (using Stratified Overlays and Styles) – 1 freebie(s)? […]
I really like when you include a pdf of your tricks and techniques. I keep them in a folder for easy access, then I don’t have to search through my web favorites to try to find it again. ? I know it’s more work for you, but a great resource for us!!
I absolutely love this technique and the results are so pretty. I’m not very good at using brushes but this makes me want to try!
Absolutely beautiful, Karen, and so easy to change the effect using styles and overlays. I will definitely be using this technique in the future 🙂
Your Stratified Collection has so many stunning color combinations, and I LOVE how I can use them with Stamps – you’re right super Fun and Easy! Thanks for the tutorial/reminder on how to use them 🙂
Thanks, Renee! I look forward to seeing what you do with them!
I love your tutorials, but greatly appreciate it when the pdf downloads are available. Ones like this are difficult to save, and I would like to keep it.
No problem, Sharron. I just didn’t have time when I wrote it to do the PDF. I’ve updated it now to include the link, but here it is: https://bit.ly/ColorDigitalStamps-Stratified
Thanks for letting me know you like them!
Thanks for this quick tip.
You’re welcome! I’m all for quick and easy!