$3 Trash to Treasure
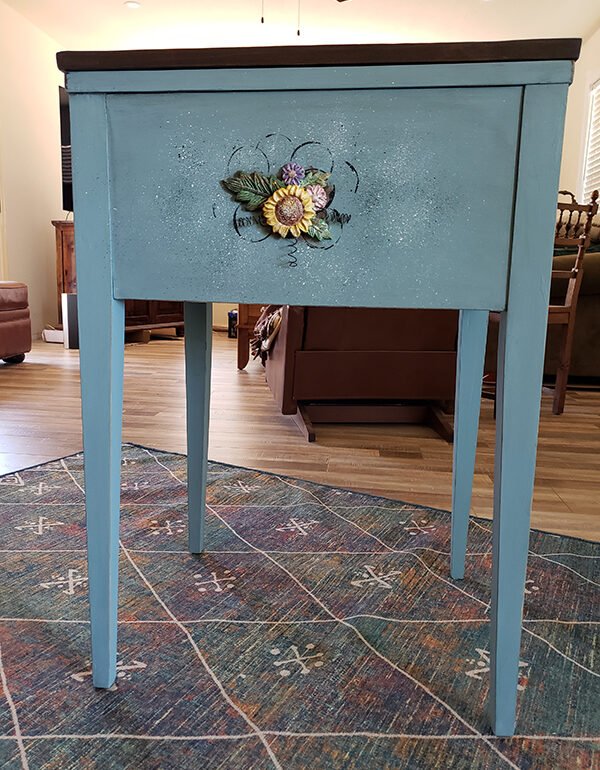
About a year ago I went to a local estate sale. I immediately spied a small wood sewing cabinet that would qualify as a trash-to-treasure project. It was in pretty bad shape, but it was only $3. I didn’t know what I was going to do with it, but it was cute, even in its disrepair. At the very least, it would be a nice piece on which to practice a new painting technique.
I saw a metal placard inside the cabinet, which identified the piece as being a Sears product. That made me think it was probably well-made, even though it looked very sad.

If I am watching a television program, I often want to be doing something with my hands. For months, I have been thinking about how to create a small work area for me in our family room. And this week I thought of the sewing machine cabinet. It is a perfect size. Small enough to fit where I want it to go, and with a little work it could be super cute. So I got out my tools and got started.
Once I started sanding the top of the cabinet, I realized there was a thin wood veneer over some beautiful solid wood. Why would they do that!!?? No matter… I would just have to remove that too. That was a harder job than anticipated. They used some mighty strong glue to attach that veneer!
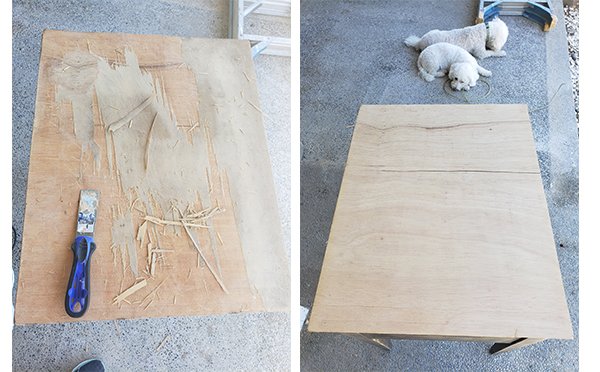
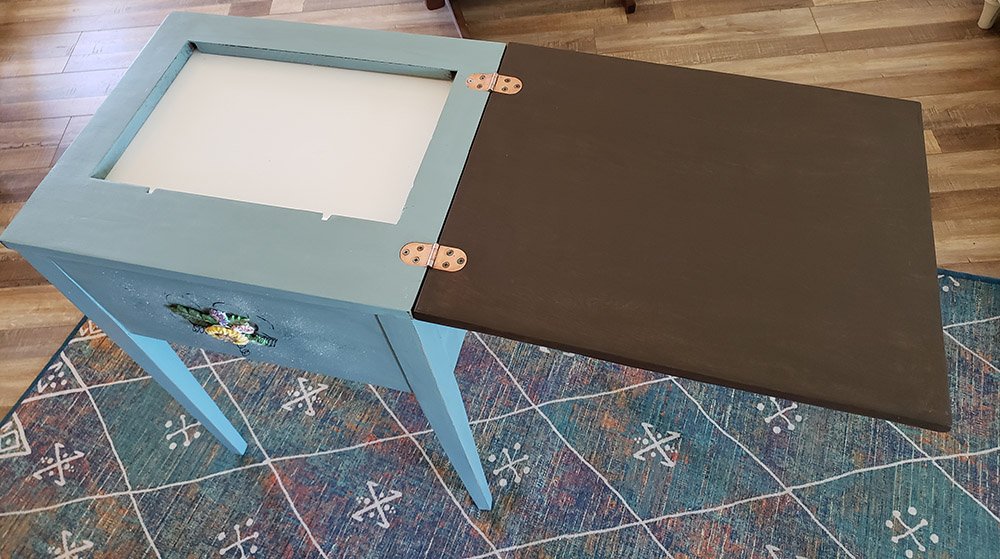
After removing all of the veneer and giving the top a good sanding, I removed it from the cabinet, as well as an additional piece of wood that held the sewing machine in place. The hinges had been painted several times, as well as having had stains smeared over the gobs of paint. My favorite way to remove paint on metal hardware is to boil it in soapy water for a few minutes. The paint usually peels off fairly easily. Once I started removing the paint on these hinges, I saw that they were brass, so used a little Brasso to get them really clean.
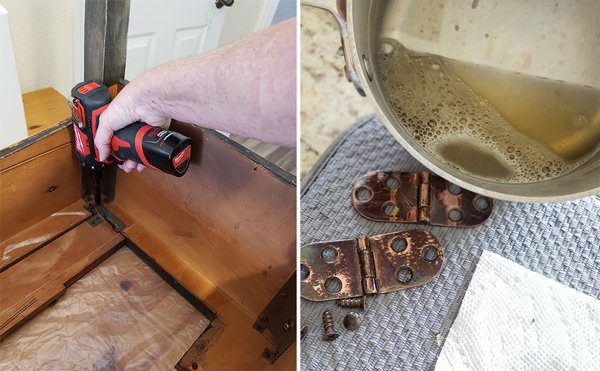
I decided to paint the cabinet, but stain the pretty wood top. I applied a wood conditioner to the part I was going to stain; this helps the stain absorb more evenly.
I painted the cabinet with Fusion Mineral Paint (Color: Heirloom), distressed the edges using sandpaper, then applied a black wax to the entire project.
The front of the cabinet looked very plain, so using some Iron Orchid Designs molds and air-dry clay, I made, then painted, some flowers and leaves. I dipped the top of a jar in black paint and stamped some circles on the cabinet front. After assembling the flowers, I curled some wire and stuck 3 wire “corkscrew” pieces in the little flower cluster to add a bit more interest. Next, I spattered the front of the cabinet with white and black paint.
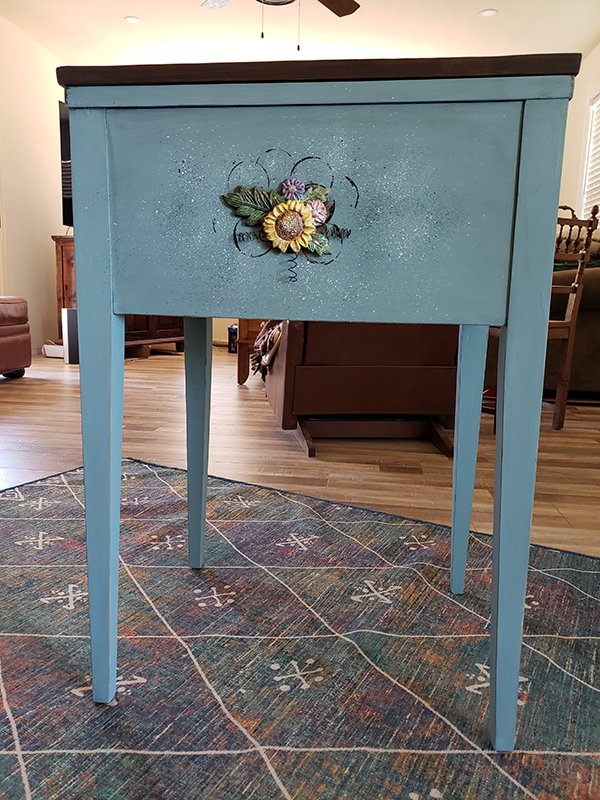
I added a piece of white laminate to cover the sewing machine opening. Even though the area is small and not very deep, it will be perfect for working on small projects.
Look at those gorgeous shiny brass hinges!
This is going to be a great little worktable for me, and it was a lot of fun to turn this sad little cabinet into something that is a pleasure to look at.
Now onto finding my next trash-to-treasure piece!
Comments (26)
You must be logged in to post a comment.


Wow, that’s lovely. You’ve salvaged a wonderful piece of history and made it your own. Love the tiny splatters. The dimensional flowers are a great touch. Bet you get lots of use with that recessed area for whatever “not too dimensional” project you’re working on! Fantastic job!
Thank you so much, Sue. I love your phrasing… “piece of history.” I feel exactly the same way. I wonder who bought it for the first time and how many hands it passed through before it was deemed so unworthy it was offered at an estate sale for just $3.
You are so clever, Karen! This cabinet is beautiful now….you saw its potential thru the original sorry state it was in! And I love the flower and leaf addition…so lovely and creative!!
Thank you, Diane! 🙂
Oh my goodness! You are just absolutely so amazingly talented! I love this!
Thank you, Lisa! It was so much fun!
I wish I had half the talent, imagination, and energy you have Karen!! This is absolutely beautiful, and with the additional history behind the cabinet, makes it all the more special. Hugs, Vicki
Thank you so much, Vicki! I’m sure you have talents that I could only dream of having though!
We’re just all totally amazed and even overwhelmed by the amount of your talent – and is many areas too! I too wonder about the history of sad pieces of furniture or even keepsakes that one sees at a good estate sale, sometimes even at garage sales! Too bad these items can’t talk to us although that might be a little scary LOL.
LOL! Yes, it could be scary at times, I imagine; but like you, I would love to know the history of the pieces we see at sales!
You are so very talented & creative, Karen. This little cabinet is so pretty — I love that blue color & the flower design you added gives it just the right touch.
Thanks, Pam!
You are so talented. Love it!
Thanks, Mary! I’m glad you like it! 😉
What a wonderfu restore of a vintage piece. Hubby & collect pieces and restore as well and it is amazng how it all comes back to life. Thank for sharing!
Thanks, Karen! I would love to see what you do!
This turned out so beautiful!! You made an amazing transformation! I had one just like this with my first sewing machine back in the 70s! It was a Sears sewing machine traded it in when I got a new machine.
HThe 60’s 70’s must be the time period of this cabinet. Judy (comment above) mentioned she got one in 1966.I should try looking it up somehow, just as a matter of interest. Thanks for the info, Carolyn.
That looks like my Kenmore sewing machine cabinet only mine is pretty much in its original shape. The original machine is still in mine, though, due to my carelessness, an essential little metal piece got broken & I don’t/can’t use it anymore. Instead, my “newer” portable Kenmore sits on top. My dad bought me the machine in 1966 as a college grad gift (He was especially proud some I married during my sophomore year & finished a semester early.) Thanks for the sweet memories. Love what you did with your cabinet. ??
Wow! Congratulations on your academic achievement. Doing that while married, is definitely an accomplishment! I would love to see your cabinet. Would you post it in our private FB Group?
Oh my Karen! You perform miracles with your imagination and loving touches! I love all your restorations and love that you share them with us… Tell me one thing… can I hire you?? ?
You make me smile, Judy! Thank you for your kind words! I hope that the little that I show and explain will inspire YOU to pick up a paint brush and give it a go! (so, no, I don’t hire out for this. LOL!)
You are such an artist, Karen! Beautiful results.
Thank you, Traci. I’m glad you like it!
Wow Karen, you created a little masterpiece you will love to use.
Thank you, Sherry!