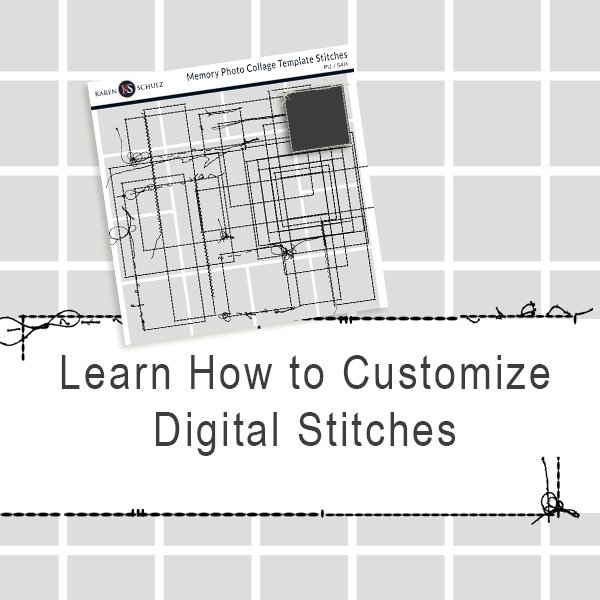
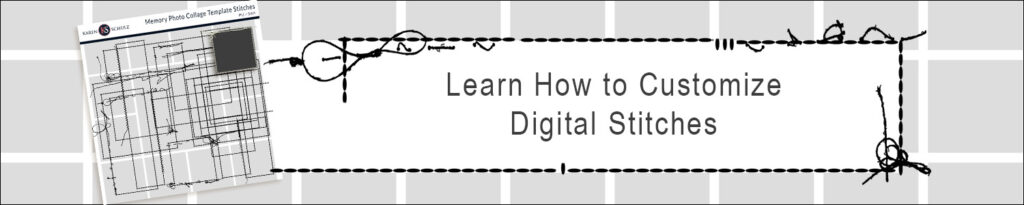
How to Easily Customize Digital Stitches

Digital Stitches. They are one of the little extra touches that can often take a digital scrapbook page from Good to Great.
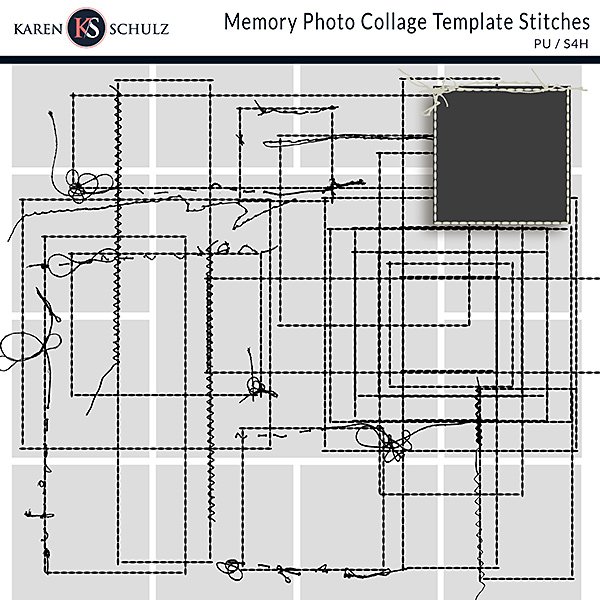
Hello! It’s Renee here, a Creative Team Member for Karen Schulz Designs. Karen’s Memory Photo Collage Template Stitches have just been released, and I’ve been having so much fun with them.
Do you love using digital stitches as much as I do? What do you do if you don’t have the exact size you need?
I’m here today to walk you through the process of customizing stitch sizes, not only to meet your special needs but also to help you maximize your use of this product. At the end of this tutorial, you’ll understand my technique and be familiar with the tools you need to alter any stitches you may have.
Today’s Goal:
To create 11 x 11-inch stitches for use on a 12 x 12-inch digital scrapbook page, by cutting, duplicating, and rotating other stitches.
Products Used:
Software:
I am using Photoshop, but the process is exactly the same in Photoshop Elements unless otherwise noted.
Step One:
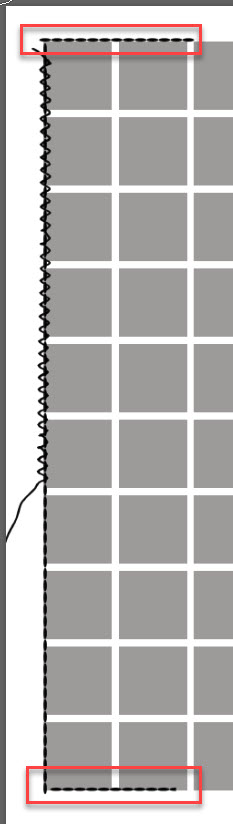
- Open the Memory Photo Collage Template PLUS.
- Place the ks-messy-stitches-02.png on the left edge of the template.

Step 2:
- Get the Rectangular Marquee Tool. In the document, click and drag around the right side of the stitches to select them. Right-click within the Selection and choose Layer Via Cut. (This will put the selection on a new layer in the Layers Panel.)
- In the Layers Panel, double-click on the name of the new layer and rename it Top Stitches. Press Enter to commit.
- Duplicate the Top Stitches layer (Ctrl J or Cmd J on a Mac) and rename this layer Bottom Stitches.
- In the Layers Panel, turn off the visibility of the Top and Bottom Stitches layers by clicking on the visibility icon to the left of the Layer.
- In the Layers Panel, double-click on the name of the original ks-messy-stitches-02 layer and rename it Left Stitches. Press Enter to commit the change.
- Get the Eraser Tool and erase the extraneous stitches across the top and bottom of the layer.
Step 3:
- Duplicate the Left Stitches layer, and rename the duplicated layer Right Stitches.
- The Right Stitches layer should be the active layer. If it’s not, click on it to make it active. Press Ctrl T (Cmd T on a Mac) to bring up the Transform Tool.
- On the document, click inside the Transform Bounding Box, and move the stitches to the right side of the template. Right-click inside the bounding box and choose Flip Vertical. (PSE: Flip Layer Vertical). Click the Checkmark to commit.
- Get the Eraser Tool and erase the loose thread that is facing the grid.
Step 4:
- In the Layers Panel, click the Visibility icon of the Bottom Stitches layer, then click on the layer itself to make it active. Open the Transform options Ctrl T (Cmd T on a Mac). On the document, right-click within the bounding box and choose Rotate 90° Counter Clockwise (PSE: Rotate Layer 90 ° Left).
- On the document, click inside the Transform Bounding Box and move the stitches to the bottom of the template. Click the Checkmark to commit.
- Next, in the Layers Panel, click on the Visibility icon of the Top Stitches layer, In the Layers Panel, click on the Top Stitches layer to make it active. Press Ctrl T (Cmd T on a Mac) to bring up the Transform Tool, and rotate the stitches 90° Counter Clockwise. (PSE: Rotate Layer 90 ° Left).
- On the document, click inside the Transform Bounding Box and move the stitches to the top of the template.
Save Your New Stitches:
Now let’s save your new stitches so you can just reach for them next time you need this size.
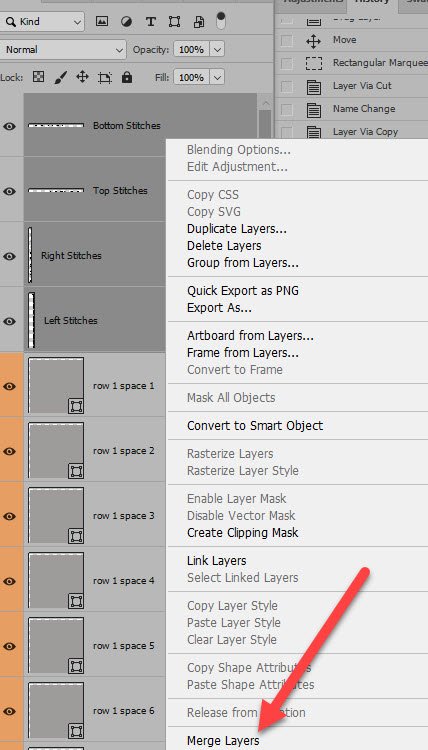
- In the Layers Panel, click on the Bottom Stitches layer to select it; hold down the Shift Key, and click on the Left Stitches layer. All of the layers in between should be selected. Right-click within the highlighted layers and choose Merge Layers.
- Now, you have 2 options:
- Go to File > New to create a 12 x 12-inch document with a transparent background. Drag your merged stitches onto the new layer. (Tip: Press the Shift key when you drop the merged stitches onto the new document so they drop right in the center of your page. In the Menu Bar go to File > Save. Navigate to where you would like to save the file (I would recommend saving it in the Memory Photo Collage Template Stitches File). Give your document a new name (12×12 -your initials), change the Save as Type to PNG, then click Save. (Giving the newly saved stitches your initials will remind you that you created that set and that it was not included in the original pack).
- Alternatively, you can turn off the visibility of the grids and the white background, and save your document as a PNG. (If you do this, just be sure you have been working with a duplicate of the grid so you don’t accidentally override it. It’s always a good idea to be working on a duplicate template anyway!).
Bonus:
Besides having my new 11 x 11 stitches for the perimeter of my page, I also duplicated it, resized it, and used it to frame my photo.

I hope you have found this tutorial helpful! Do you like to keep tutorials on your computer? Download a PDF of How to Customize Digital Stitches.
Find all of the Memory Photo Collage Products at any of Karen’s shops.
Karen Schulz Designs | Oscraps | GingerScraps


Comments (3)
You must be logged in to post a comment.
I love this tutorial and it will come in so handy on those amazing stitches! Question: Is there a way that this could have a pdf link so we can download it? That would be awesome for any of the written tutorials you write (I think).
Woops, sorry, I just saw the download link! Duh, I’m old! THANKS!
Great tutorial – thanks Renee!