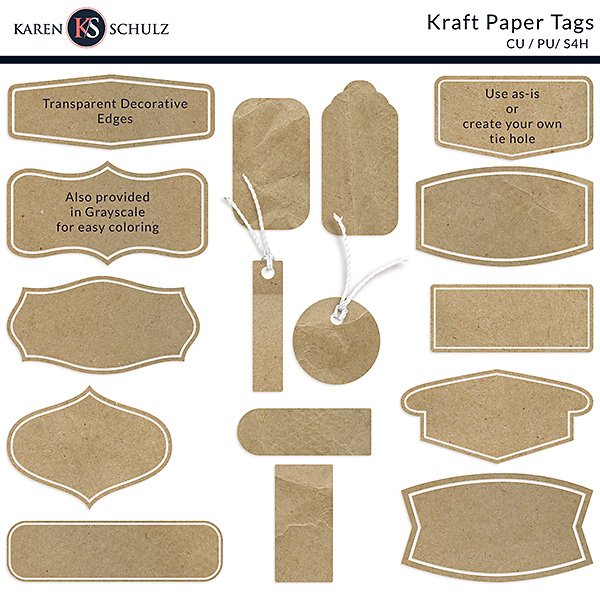
Kraft Paper Tags for Digital Scrapbooking


Express your creativity with Kraft Paper Tags. This versatile craft supply will add texture and a handmade look to your pages. Clip papers to the tags, color them, and apply styles to create new background looks. Add kit elements to make unique embellishments with your own journaling or premade word art. They’re great to keep on hand, and so easy to customize. Just pull them out when you want to add a special touch to any project.
Kraft Paper Tags includes 16 unique tag shapes, provided in the original Kraft Paper color and also in Grayscale for easy recoloring. Although I have included 2 tag ties, I have not created holes in the tags to make them more versatile. Use them as they are, without the tag hole, or create your own hole when you want one. Here’s how:
Set Up Your Workspace
(Instructions are provided for Photoshop and Photoshop Elements, but the general idea should apply to any software that you are using.)
- Turn Rulers on by going to View and placing a checkmark by Rulers.
- Turn on Brush Crosshairs by going to Edit > Preferences > Cursors then checking “Show Crosshair in Brush Tip.” Click OK.
- Open a tag on your workspace.
Option 1, Use the Eraser Tool
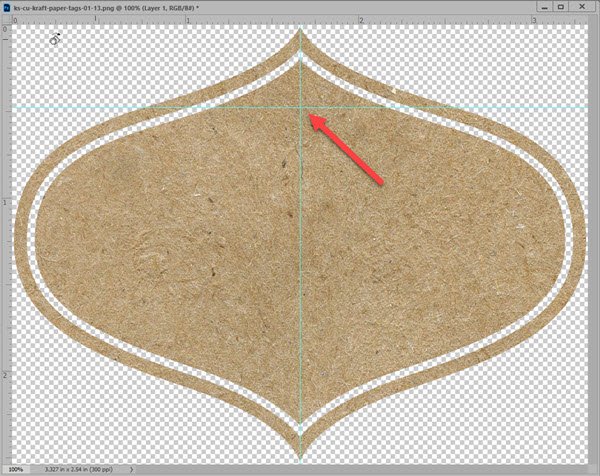
- Drag out Guides from the left and the top, so that they intersect where you want the center of your tag hole.
- Get the Eraser Tool. Set the size to your preferred hole size, and stamp down on the tag, making sure that the brush crosshairs are placed at the intersection of the Guides.
Option 2, Use a Layer Mask
- Drag out Guides, as noted in Option 1.
- Click on the Add Layer Mask icon.
- Set your Foreground Color to Black.
- Get the Brush Tool, and set the brush size to the size that you want for your tag hole.
- With the Layer Mask active in the Layers Panel, stamp your brush on the tag, with the crosshairs at the intersection of the Guides.
Option 1 is a destructive method since the Eraser tool will remove pixels from the tag. Open 2 is non-destructive since the mask is hiding the pixels where you stamp down, rather than deleting them. Working in a non-destructive way is always best because it gives you the flexibility of changing your mind later. However, if you know you are not going to change your mind, using the eraser tool is faster and easier. You decide what works best for you and your project.
Find Kraft Paper Tags at:
Karen Schulz Designs | Oscraps | GingerScraps
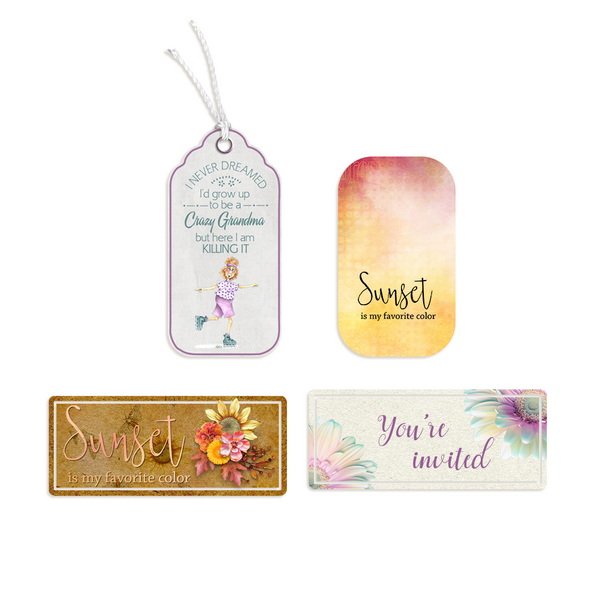
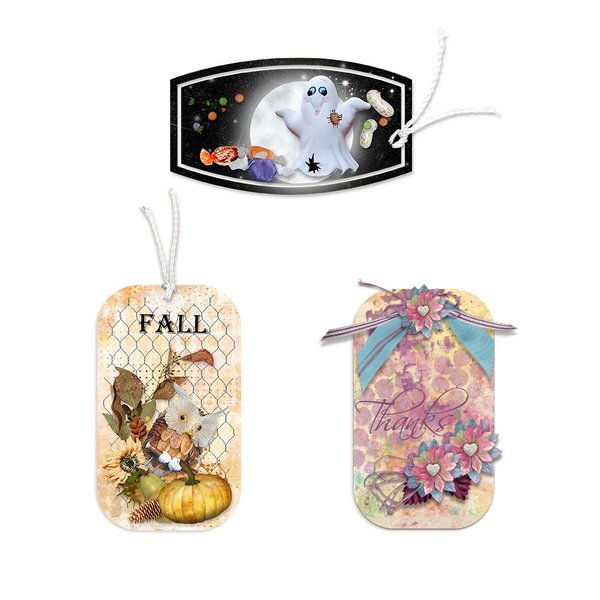
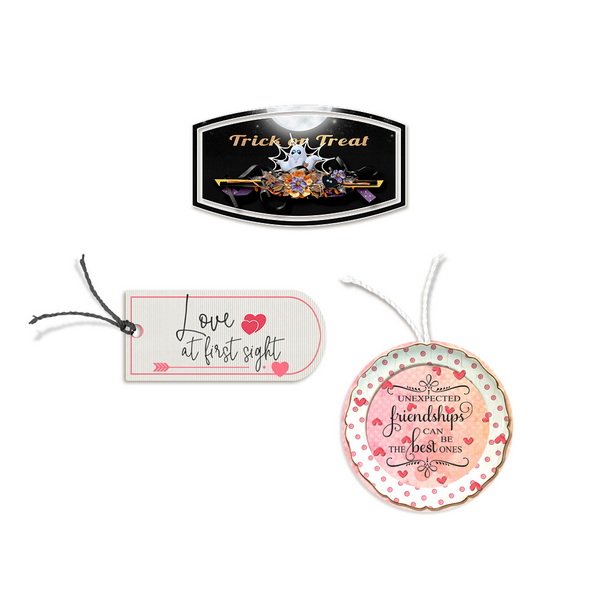
Here are just a few samples to spark your own creativity.

Comments (2)
You must be logged in to post a comment.
Love seeing all the samples – they look great.
Thanks, Stephanie. 🙂 I hope they give everyone ideas on different ways to use this product.