Texture Lover’s Dream


Create gorgeous backgrounds for your digital scrapbook pages in seconds with the use of just 2 items & a Blend Mode.
Textures are a must-have for any seasoned digital scrapbooker or anyone who is just now discovering this amazing art form. Are you in love with textures, but never understood how to apply them easily? Let me demystify the process for you, with these 3 examples.
Example 1:
- Open any texture file. I am using a texture from my Textures 06 pack.
- In the Layers panel, click on the Create a New Fill Layer or Adjustment Icon. In the dropdown menu, choose Solid Color. When the Color Picker opens, choose a color of choice. I am using Hex 3c9ac7. Click OK.
- At the top of the Layers panel, change the Blend Mode to Overlay.

Example 2:
- Open any texture file. Again, I am using a texture from my Textures 06 pack.
- There are multiple ways to add multiple colors to a texture. One of my favorites ways is to use a Colorizer, because it’s so easy and fast.
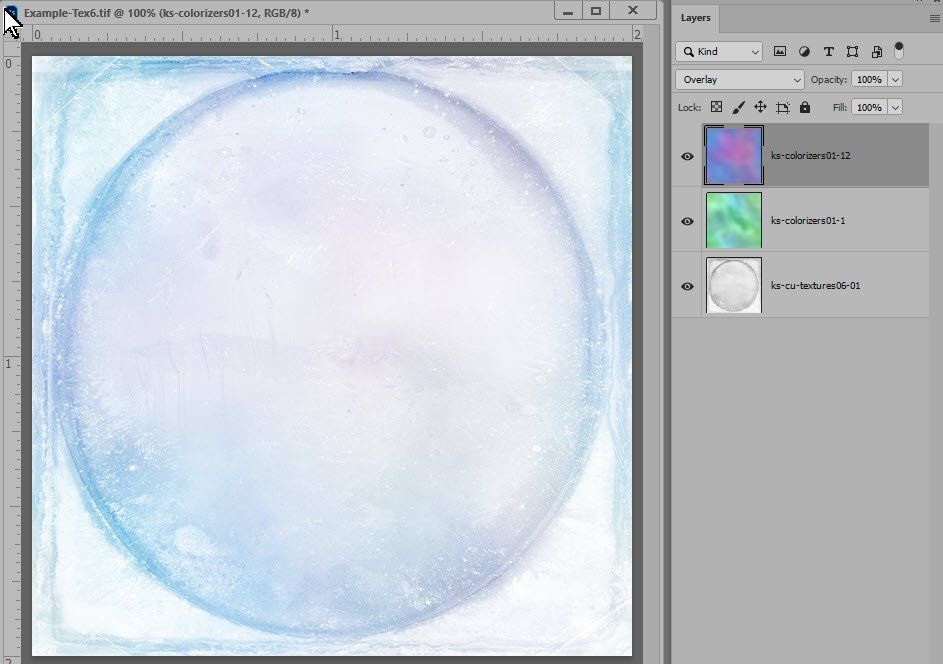
- Open a Colorizer and place it on a layer above a texture. (File > Place).
- In the Layers panel, change the Blend Mode of the Colorizer until you find a result that you like.
In my example, I used 2 Colorizers: Colorizers 01-12 set to Overlay and Colorizers 01-1 set to Soft Light. You can use just one Colorizer or stack them, using as many or as few as you like.

Example 3:
It’s also fun to use textures on photographs.
In the Layers panel, place a texture on the layer above your photo, and experiment with Blend Modes on the texture.

If you’d like to learn more about using Blend Modes, my tutorial What are Blend Modes in Photoshop? should help.
If you’d like a texture to experiment with, pop over to How to Create Beautiful Textures in One Quick Step.
And, finally, if you’d like a PDF of this tutorial, you can find it here: Texture Lover’s Dream


