How to Use Bokeh Brushes and Overlays

Add a magical, ethereal effect to your photos and digital background papers with the use of Bokeh Brushes and/or Overlays
Bokeh is a term used in photography to describe the delightful blur effect that is produced in the out-of-focus parts of a photo. You can easily mimic this effect using Bokeh Brushes or Overlays.
Using Bokeh Overlays:
You can add a bokeh overlay to your background paper before you start your layout, or wait until your page is complete—it’s entirely up to you. Once you’ve placed the grayscale bokeh on your paper or photo, try one of these techniques to transform it into a stunning bokeh effect.
- Blend Modes: Experiment with Blend modes of a Bokeh Overlay. The result will depend upon the Blend mode you choose and the color of the background paper you are using. Cycle through the Blend modes to find the one that works best for your paper. Don’t forget to rotate, duplicate, flip, and/or stack overlays to create unique looks with each use.
Here are a few examples, using the same Bokeh overlay but different Blend modes.
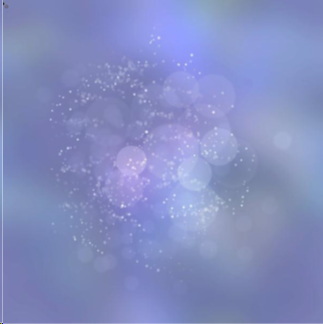
Bokeh Burst Overlay #7, Linear Dodge blend mode, over Colorizer 02 #9
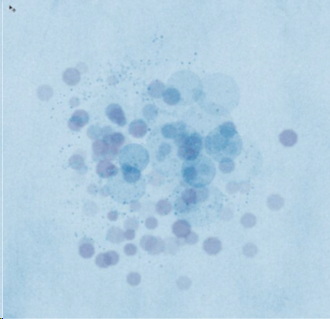
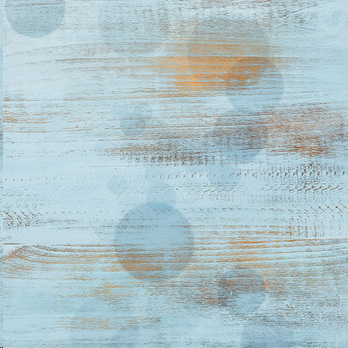
Bokeh Burst Overlay #7, Color Burn blend mode, over a solid kraft paper from Beach Day

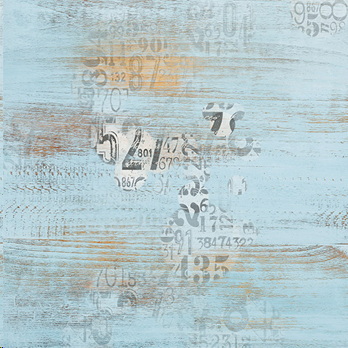
And once again, the same Bokeh Burst Overlay #7, with a Divide blend mode, over the same Beach Day paper as above.
2. ADDING COLOR:
Add color to a Bokeh Overlay. Here are 3 ways you can do that:
- Clip a paper to the overlay.
- In the Layers Panel, click on the thumbnail of the overlay to select it. In the Menu bar: Edit > Fill. Choose Color in Contents. Choose the Color you would like to use, then click OK, and OK a 2nd time.
- Click on the Transparency lock at the top of the Layers Panel. Set the Foreground color to the color you would like to use. Choose a soft-edged brush and brush color onto the overlay, which is on your document.
Example 1: Giggles and Grands Paper 09 clipped to Bokeh Burst Overlay 24 and 14, on a layer above Giggles and Grands Paper 12.
Example 2: Using the same papers as noted in Method 1, I experimented with the Blend Modes of the Overlays. With these particular Overlays and Paper, I liked the Color Burn Mode. I lowered the Opacity of the Overlay 14 to 34% and Overlay 24 (which was the darker of the 2) to 16%.
Example #3: Color Fill: In the Layers Panel, click on a Bokeh Overlay, then choose a Solid Color Adjustment Layer. Choose a Fill Color, then click Okay. (I chose a color from the background paper – one brown color for one of the Overlays, and a gold color for the 2nd Overlay). I wasn’t really happy with those color choices, so I experimented with Blend Modes. The Light Brown I chose turned into a Purple/Blue color in a Color Dodge mode, and I liked it, so I left it that color. The Gold turned White in Divide Mode, and I liked that, but I lowered the opacity to 77%. I didn’t like the smallness of the Bokeh on that page though, so CTRL T (Alt T ) and enlarged it also until I was pleased with the result. Because Bokeh has soft edges, enlarging it as much as I did, really isn’t a problem.
USING BOKEH BRUSHES
While the Bokeh Overlays were designed for those who want a bokeh burst out-of-the-box-ready-to-use, the Bokeh Brushes are for those who prefer to create their own Bokeh designs.
- To use: Rather than dragging your brush across the length or width of the document, click and drag just slightly to get the best result. Repeat until you have the look you were going for.
- To color: In addition to using the color tips noted for the Overlays, you can also set the Foreground Color to the color you would like to use for your brush, prior to dragging the brush on your paper.
Bokeh adds such beauty to your pages and photos. Here are some layouts without Bokeh, and then with Bokeh added.
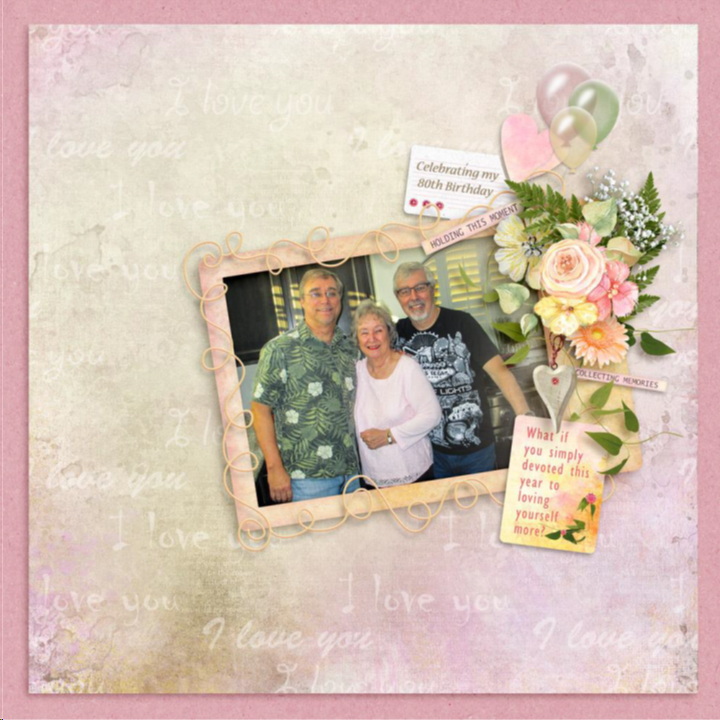
Kay added Bokeh underneath her framed photo and around her background page to add extra interest.
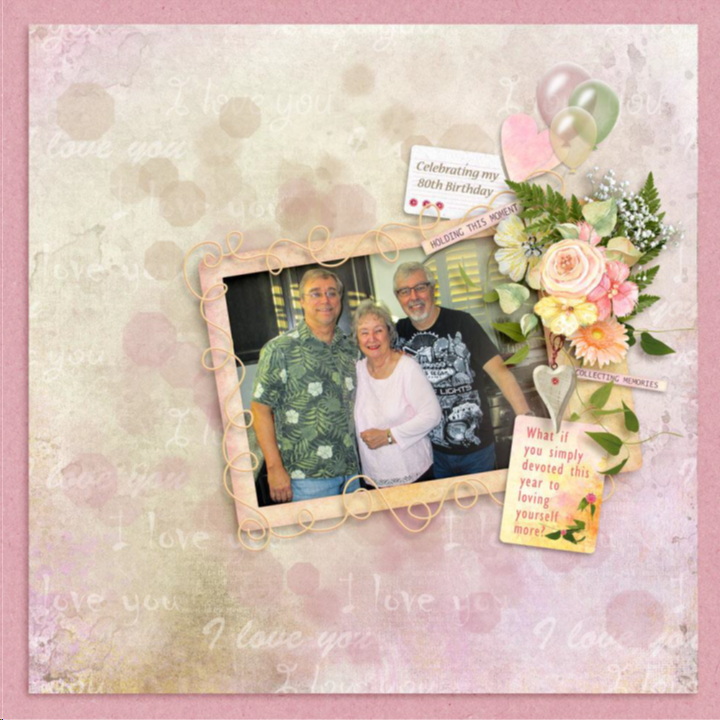
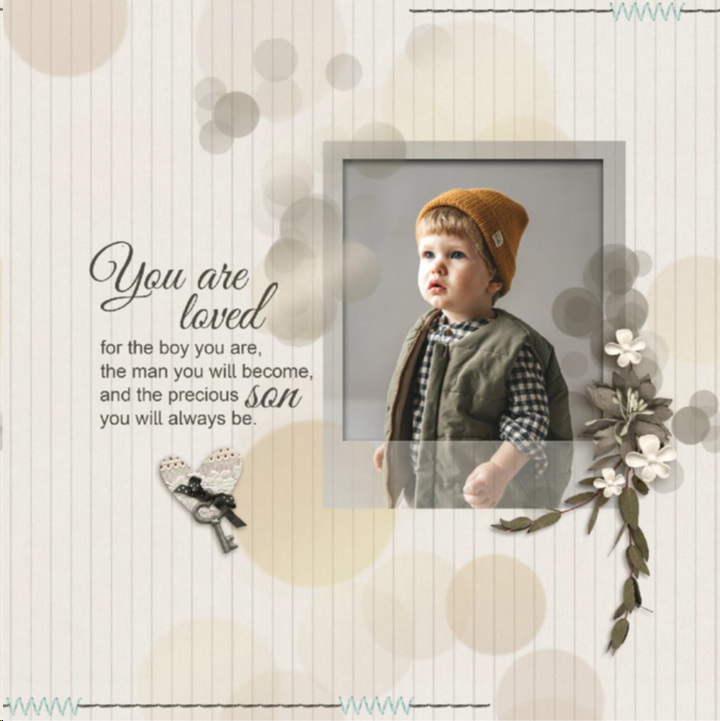
Glori’s layout without any Bokeh added:

Instead of adding a layer of Color to the Bokeh, Glori added a Gradient Style after using her Bokeh Brush.
I hope you are inspired to experiment with the Bokeh Brushes and/or Overlays.


