How to Customize a Deckle Edge Frame


Deckle Edge Frames are a fun way to add an antique effect to any project. They are great for digital scrapbooking, printable projects, and more. You can frame your favorite photographs and cards in my My Story Deckle Photo Frames, or use them as photo overlays on your digital scrapbook pages.
Resizing them can be a challenge, however, sometimes causing the deckle features to distort. In this tutorial, I’ll show you how to customize a deckle edge frame to any size, keeping those delicious edge effects.
For this tutorial, I am working in Photoshop 2023, but the instructions are the same in Photoshop Elements.
Customize a Deckle Edge Frame:
- In the Layers Panel, open a photo and a Deckle Edge Frame. They should each be on their own layer.
- In the document, click on the Frame to select it, and move it on top of the photo if it isn’t already. (Image 1).
- In the Layers Panel, the Frame should be selected. If it’s not, click on the layer to select it. In the Menu Bar, go to Layer > Duplicate Layer (or use the keyboard shortcut Ctrl J). Create 3 duplicates of the Frame. After doing so, you will have 4 Frame Layers.
- In the document, click on the top Frame layer that you see and drag the frame to the right, lining up the right side of the Frame with the right side of the Photo. (Image 2).
- Follow the same instructions and move one additional copy to the lower right edge of the photo and one to the lower left edge of the photo. Visually check the edges of the frame to be sure they are even with one another. Use the Arrow keys on your keyboard to nudge a frame into place, if necessary. (Image 3).
- In the Layers Panel, click on the top Frame Layer, hold down the Shift key, and click on the last Frame Layer to select them all. (Image 3). Right-click and choose Merge Layers.
- Get the Rectangle Tool. In the document, drag out a rectangle just slightly outside of the frame interior.
- In the Layers Panel, with the merged Frames layer active, hit Delete. This will delete the extra frame pieces, leaving a perfectly sized deckle edge frame for your photo. (Image 4).
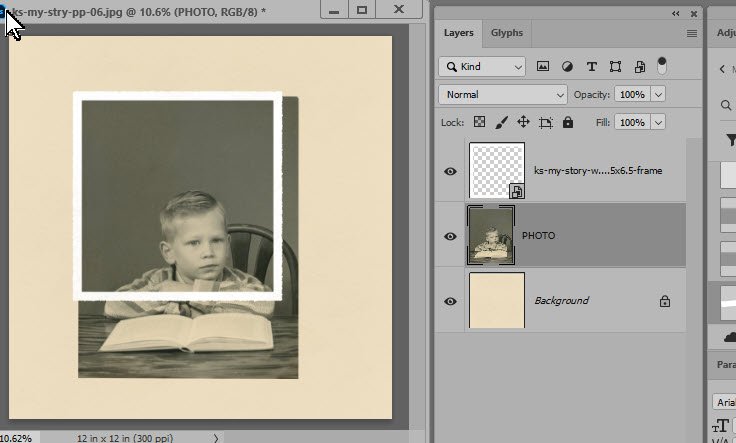
Image 1
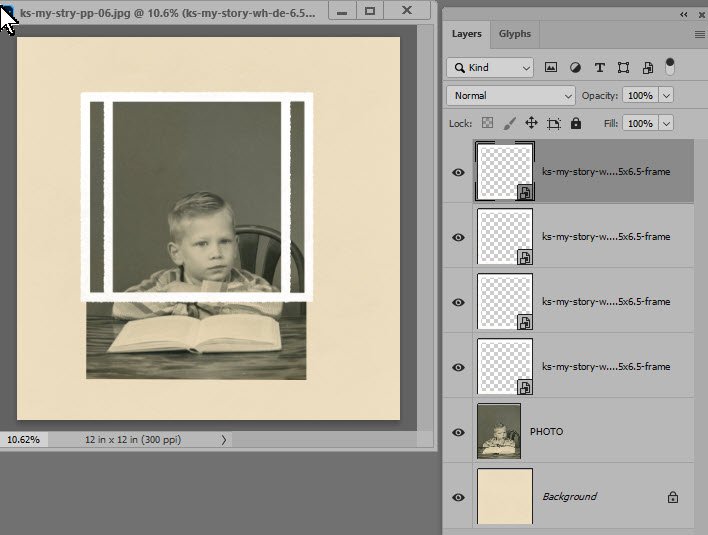
Image 2
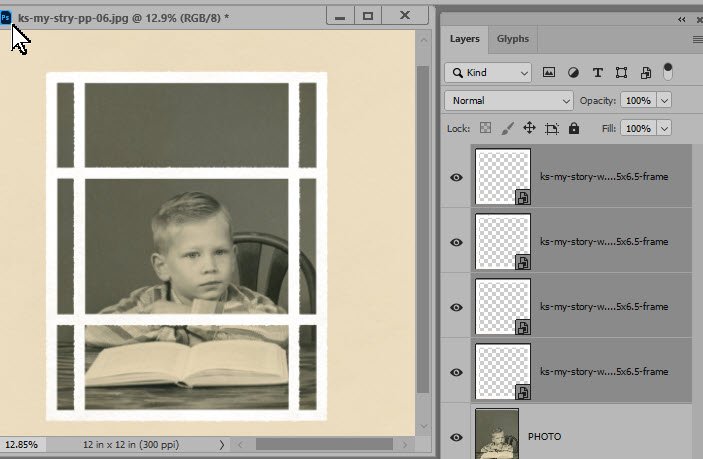
Image 3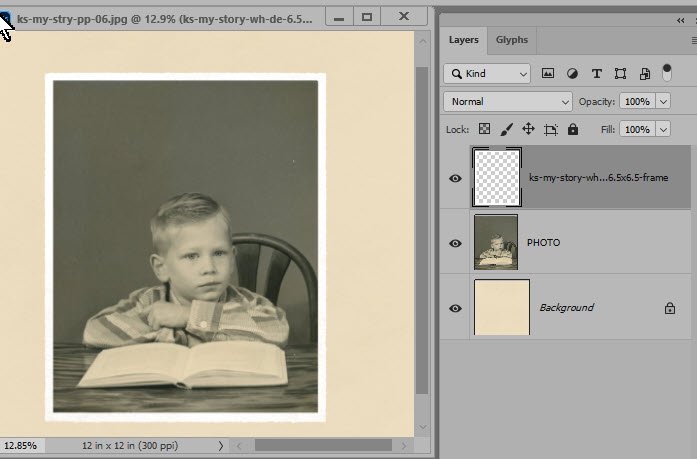
Image 4
Are you a visual learner? Watch this tutorial on my Karen Schulz Designs YouTube Channel.
Download a PDF of How to Customize a Deckle Edge Frame.
Register for my newsletter and/or subscribe to my Karen Schulz Designs YouTube Channel to keep informed of new tutorials and products.
