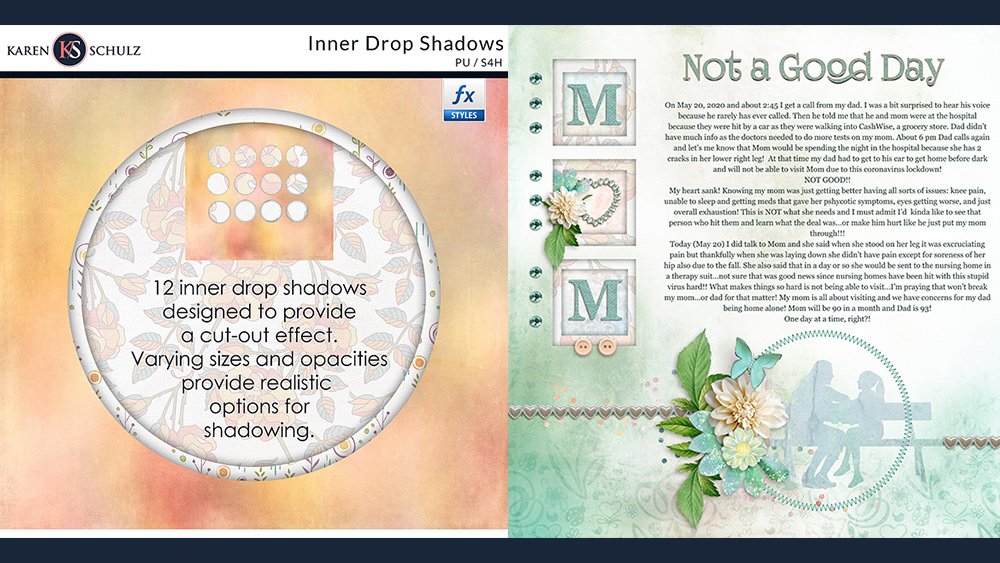
How to Use Inner Drop Shadows


Create a 3D effect with the use of Inner Drop Shadow Styles
One way to create extra interest on your digital scrapbook pages is to add a 3D effect. Here’s how:
Step One:
- Open a 12″ x 12″ background paper.
- In the Layers Panel create a blank layer above the background paper.
- Get the Elliptical Marquee Tool. On your document draw out a selection. Hold down the Shift + Alt Key to constrain your selection to a circle.
- Place your cursor in the middle of your circle selection on your document to move it to where you would like it to be; then press the Delete to cut a circle in your background paper.
Step Two:
- Repeat Step One, making the 2nd circle selection larger than the first.
- Your document should now look like this:

Step Three:
- Apply one of the Inner Drop Shadow Styles to both background papers.

Step Four:
Embellish your page as little or as much as you like. Here are 3 different variations.


Here are a few other inspirational layouts for you.

Circular Word Art Tutorial
Curved Border Template Tutorial


Using Mothers and Daughters Kit
I would love to see what you do with this tutorial. I invite you to join the Karen Schulz Designs Facebook Group and share!
Download a PDF of this tutorial here: How to Use Inner Drop Shadow Styles

Comments (2)
You must be logged in to post a comment.


Very fun shadow style! I love the effect and the ability to “tuck” things at different levels!
Thanks, Stephanie! I look forward to seeing what you do with this!